Sunday, November 23, 2008

Another Freebie


Thought I'd pop on real quick and offer a mini freebie. I have another one in the works - we'll see if I get it finished before the new year or not. Anyway, have fun and I hope everyone has a wonderful Thanksgiving!
Download the mini kit here

Wednesday, November 5, 2008

Gone Digi...

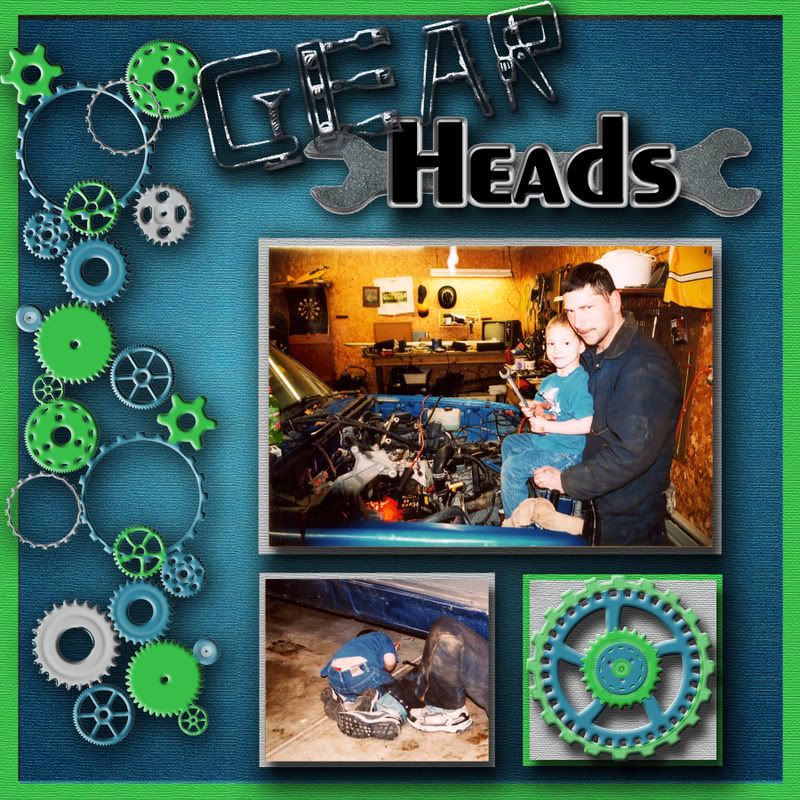
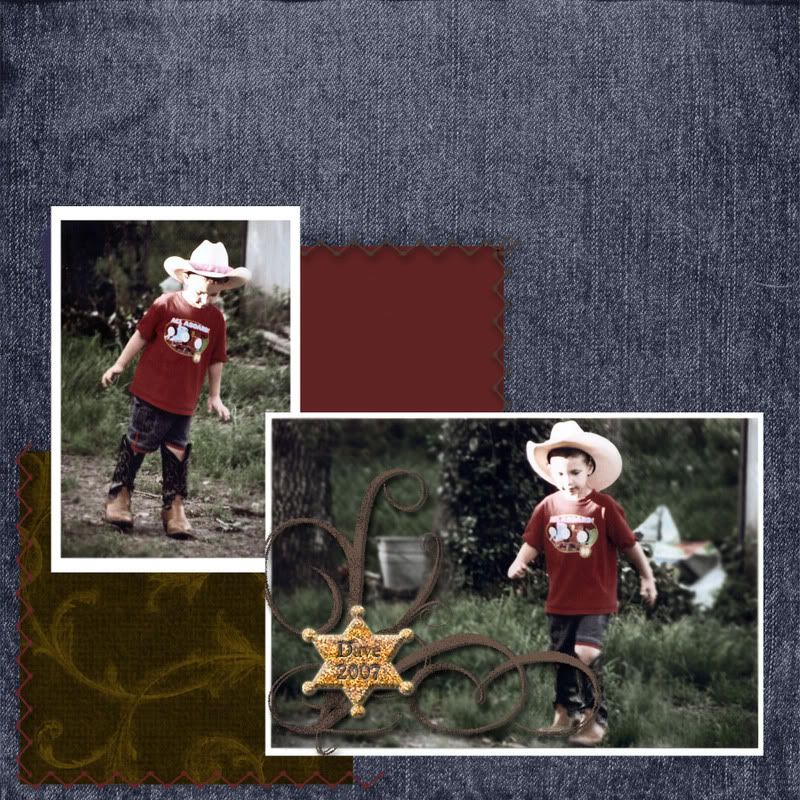
I'm going digi. Well, not totally digi, but I am having fun! Here's a few sample layouts. I really like the freedom of using my own designs - meaning I get exactly what I want!


Click the image to get a full-sized view. Both layouts use brushes by Obsidian Dawn and the Cowboy layout also uses a brush from the Scrappin' Cop.


The Gear Heads layout was my first attempt at designing a kit. You can download it HERE for free! But it will only be available until 15 November - so get it now if you want it!

Tuesday, October 7, 2008

Updates...

Ahhh... Nothing ever feels quite as nice as being home - am I right? I've missed my little spot in the world wide web. After an unfortunate bug on my poor computer I was forced to take a little vacation from the net. But, the bug is beaten, I'm back on line, and I hope to be posting more here shortly!

Saturday, December 15, 2007

A Tisket a Tasket....

... A Christmas colored basket.


All the Christmas cards are done, the house is decorated, and the cookies are made. Christmas time at the Chenoweth household is running like clockwork!
To celebrate this momentous occasion I spent the afternoon in my craft room coming up with a new tutorial! And guess what! I want to share it with you!


Isn't he cute?! lol
Supplies:
  • Paper
  • Adhesive
  • Glue Dots
  • Brads
  • Anywhere Hole Punch

Instructions:

  1. Make reeds: Cut 11 strips of paper to 1” x 11”; fold in half length wise (hot dog fold) at ½”; run a line of glue down the middle to adhere sides together
  2. Lay four of the reeds side by side on a flat surface and weave in four more. Slide the strips together to make the bottom of the basket.
  3. Fold the ends of the reeds up to form the side spokes.
  4. Attach a brad to the end of a reed to the first basket spoke. This will hold the end in place as you weave that read through the remaining basket spokes. Attach end of reed to the brad after making it around the basket.
  5. Weave in the remaining reeds as described above.
  6. Fold the tops of the spokes into the basket and tuck them behind a reed or for a sturdier basket, adhere them in place.
  7. Decorate as desired.

To download a PDF file of this tutorial click here. If you have problems downloading this information or would like to share your creations, please email me!

Tuesday, December 11, 2007

Christmas Cards - FINALLY

OK, now that all the excitement is over I thought I'd share the Chenoweth 2007 Christmas card with you! I plan on having them completed tonight so they can go postal tomorrow!
David did the embossing using the cuttlebug - which he LOVED to play with! We used: Glad Tidings stamp set, Real Red ink, Real Red, Old Olive, and Very Vanilla CS, Dashing DSP, green organdy ribbon (retired), scalloped oval and regular oval giga punches, white Galaxy Marker and lots and lots of glue.

Hate to cut it short, but I've got to go dry David's tears. His dad has told him that the Father Son Pizza Party he's been looking forward to all week has already come and gone. (It hasn't, they'll be leaving in an hour!) Poor kiddo. But not to worry - his dad WILL make it up to him.